You can customize the video layout during your Zoom meetings with four options:
Speaker View
Gallery View
Dynamic Gallery View
Multi-Speaker View
Immersive View
Floating Thumbnail View
Learn more about each type of Video Layout.
Recorded Meetings
Record to Computer Files Video View
The recording is captured to your computer; the video appearance is based on the view of the participant who starts the recording, i.e., if started in Speaker mode, then the recording shows Speaker mode.
Cloud Recording Video View
Content captured through the Zoom server is based on the original host's cloud recording settings configured before the meeting begins. Unlike computer recordings, the layouts are captured regardless of the host's in-meeting view. Cloud recordings can also capture multiple views simultaneously, such as Speaker and Gallery Views saved as separate files.
Live Meeting Views
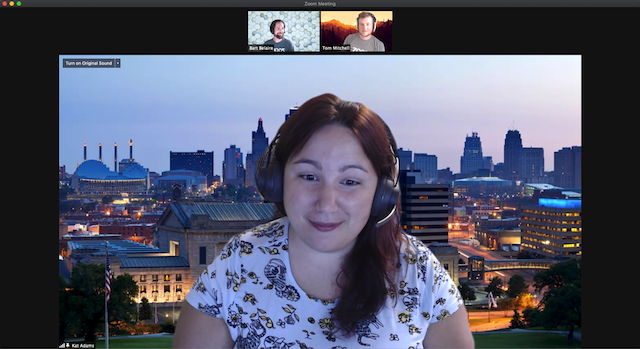
Speaker View
When there are three or more participants, the large video window switches to whoever is speaking. If only the host and one participant are present, the host's video appears smaller at the top, with the participant's video below. Pinning a participant keeps them as the primary video in your view, while Spotlight makes them the main video for everyone in the meeting.
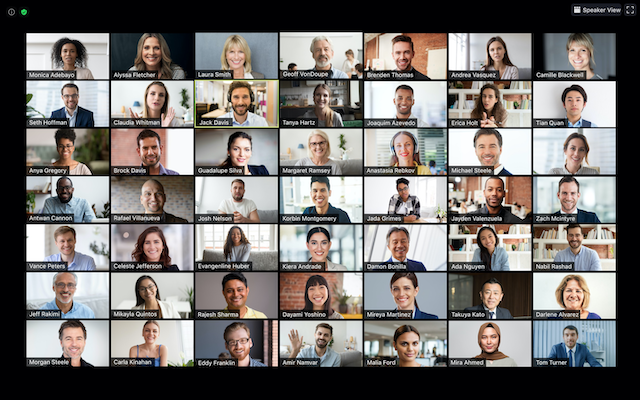
Gallery View
Displays participant thumbnails in a grid layout. The desktop client can show up to 25 or 49 participants per screen, depending on the CPU. If there are more participants, additional pages are created to view up to 1,000 thumbnails. The Gallery View can be saved for future sessions by Enabling Save Gallery View.
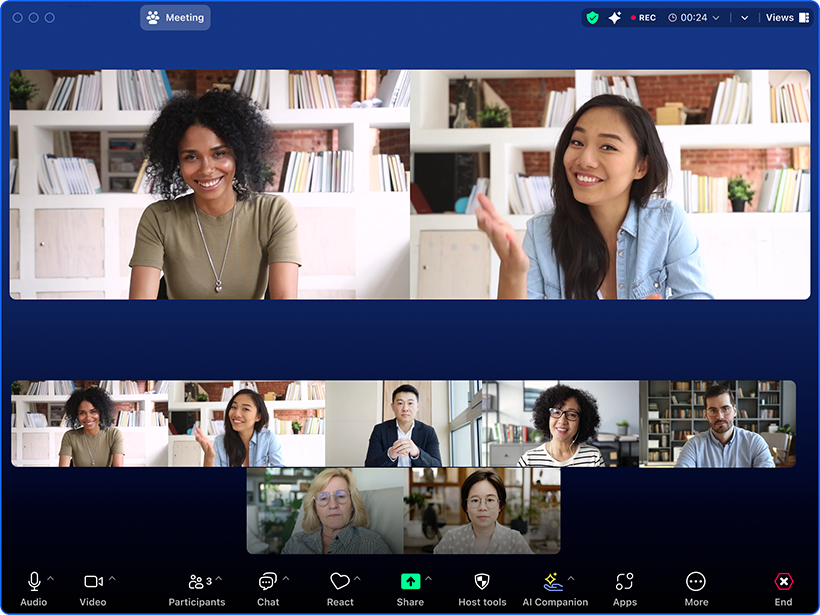
Multi-Speaker View
Multi-speaker view allows for a layout that prominently displays multiple active participants in a meeting without needing to switch between speakers. This layout adapts dynamically to highlight those currently speaking, enhancing visibility for in-room users.
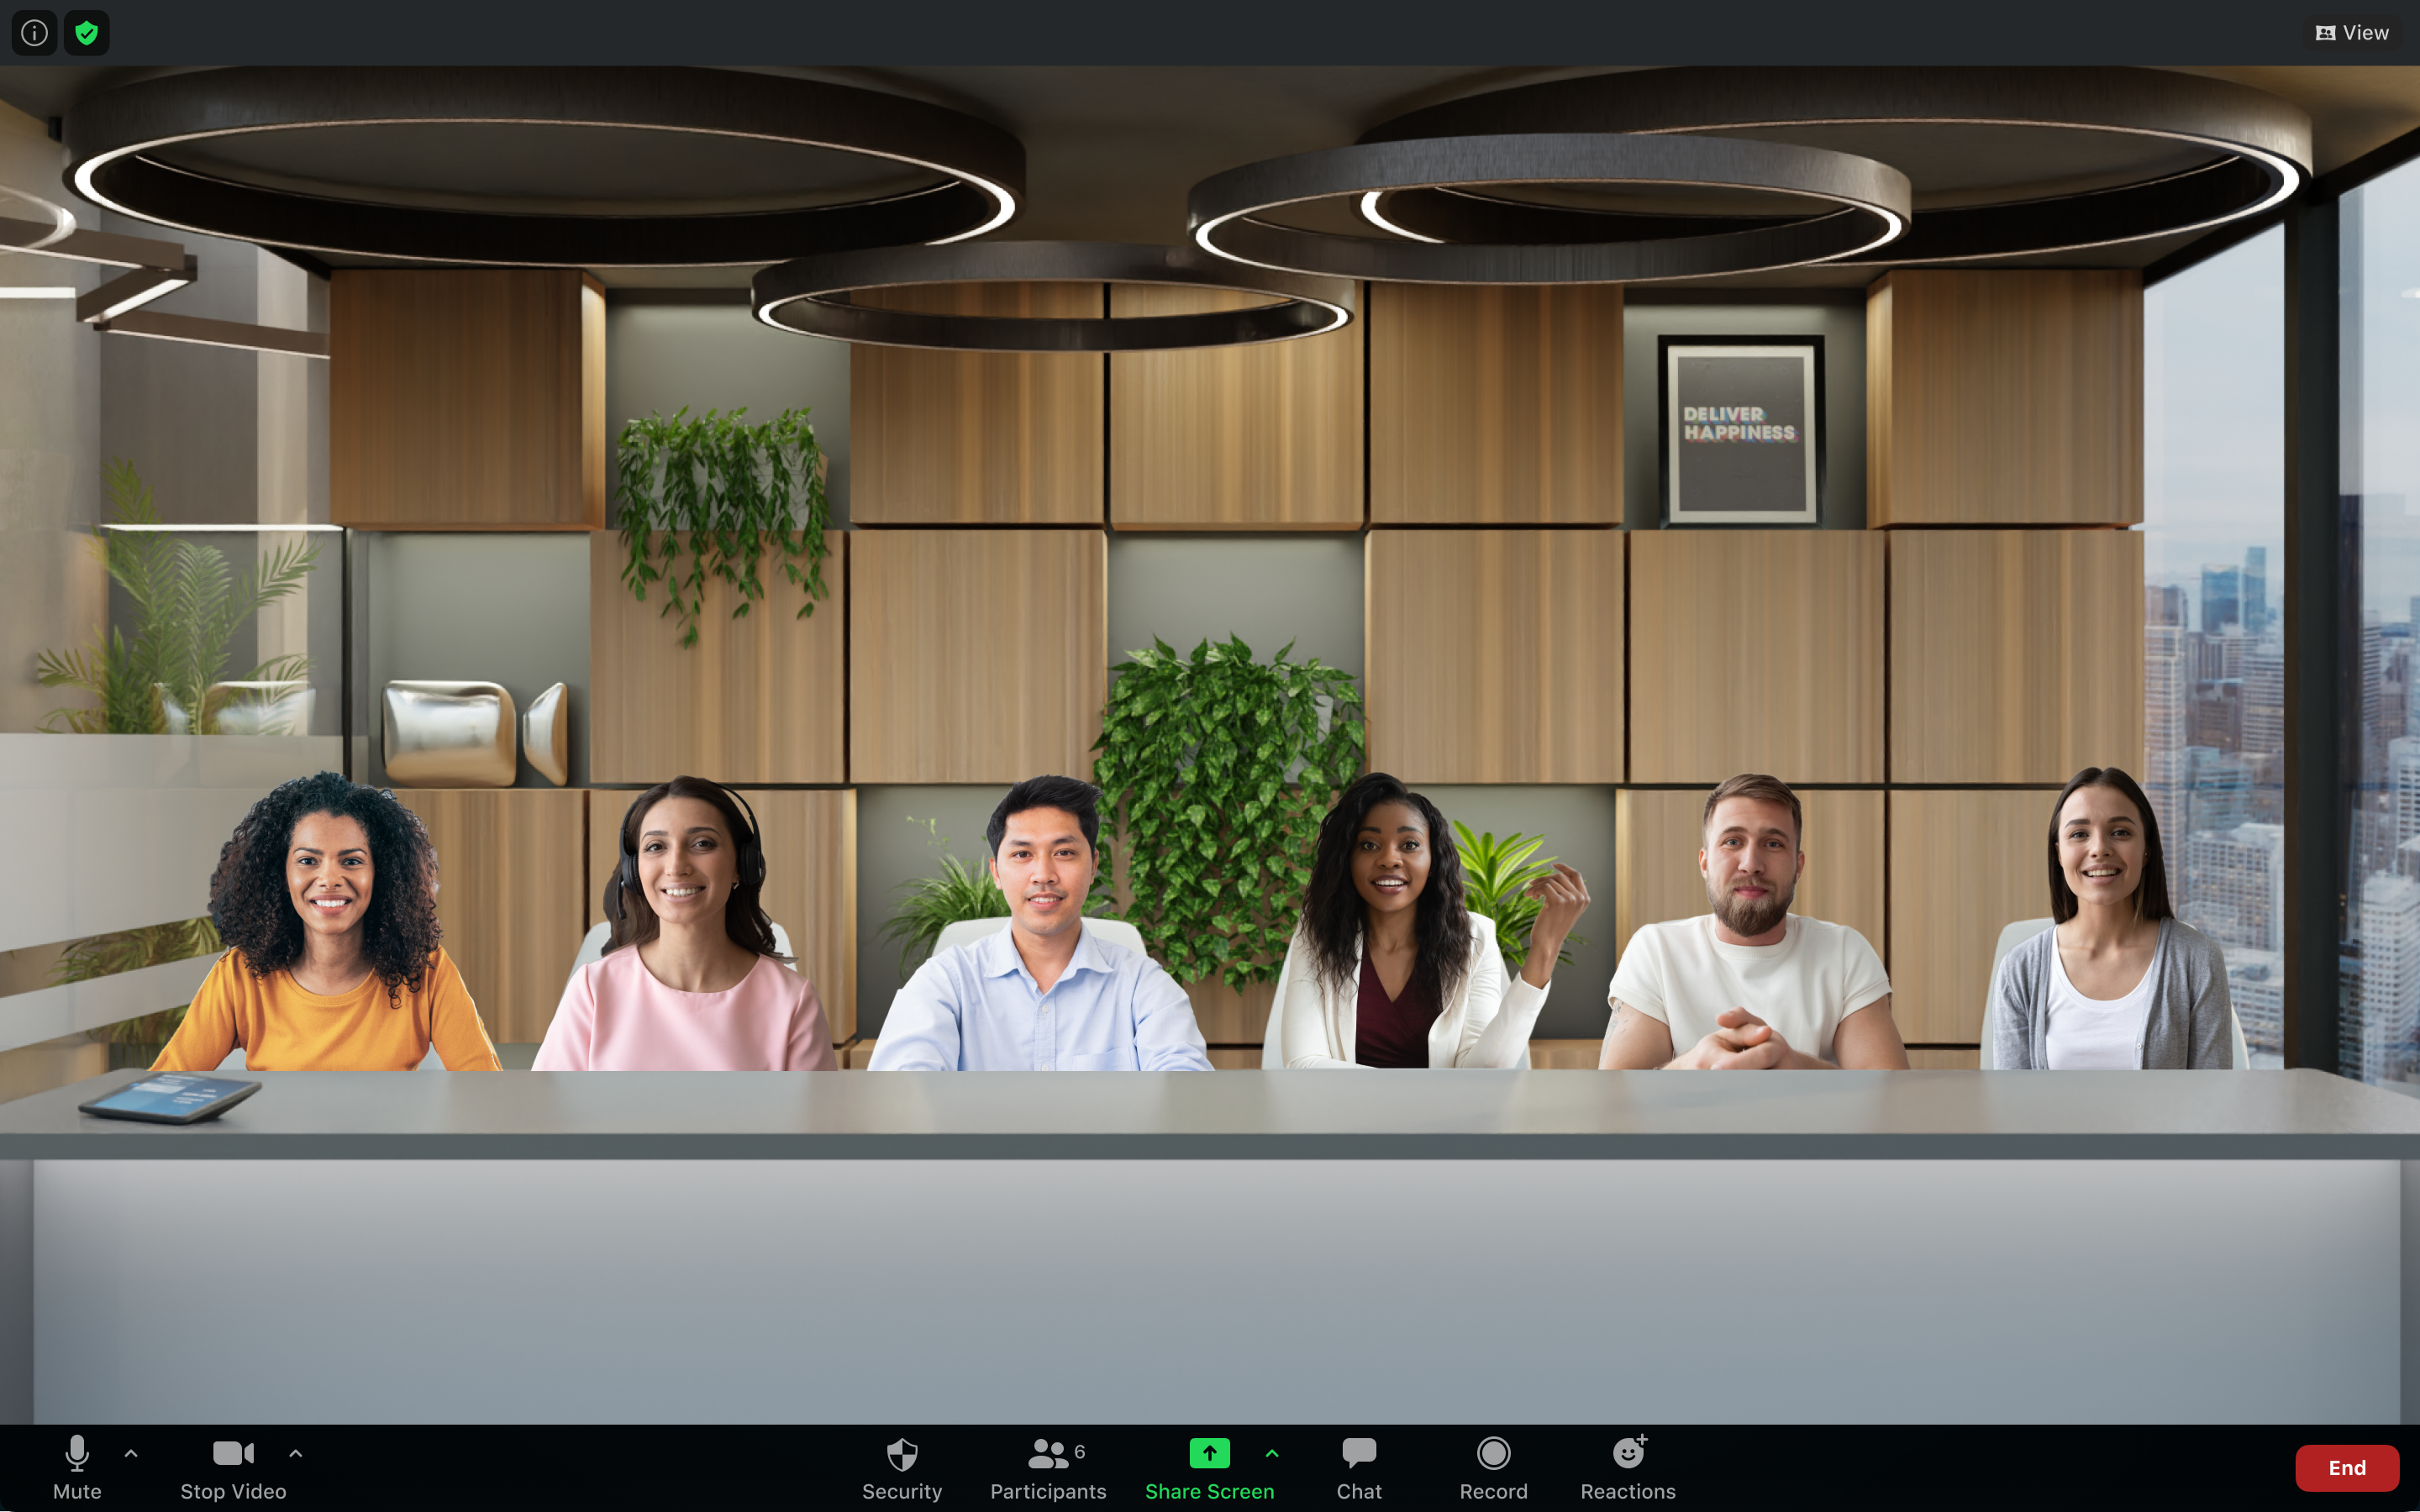
Immersive View
Recreate the feel of a classroom or conference room by placing up to 25 video participants on a single virtual background using available templates or create your own unique background. Only local recording of Immersive Views is supported. Cloud recordings will appear in either Gallery or Speaker view, depending on the cloud recording settings. Learn more Using Immersive View in meetings and webinars
Video Layout Options when Screen Sharing
When viewing shared content, there are three view options:
- Standard: Similar to Speaker View, with shared content below and video tiles along the top. In full screen mode, the shared content fills the screen, and video tiles become smaller, movable thumbnails.
- Side-by-side: Speaker: When in side-by-side mode while screen sharing, the meeting window is split between the shared content and video thumbnails, with the ability to adjust the proportions of the split between the two. Only the active speaker is shown in the video thumbnail area.
- Side-by-side: Gallery: When in side-by-side, the meeting window is split between the shared content and video thumbnails, with the ability to adjust the proportions of the split between the two.
- Presenter Layout: When opening the screen sharing selection, layout controls appear in the right-side Layouts panel. The presenter can customize how the shared content and their video displays to attendees. Presenter layouts are not supported in local or cloud recordings; recordings will display the standard view.
Comments
0 comments
Article is closed for comments.